A CS2 jump throw bind can be the difference between your utility landing and not. If you intend to play CS2 consistently, it’s definitely worth setting up a CS2 jump throw bind command to make sure that you’re consistently landing those nades. After all, you don’t want to get flamed by your toxic teammates.
What is a jump throw in CS2?
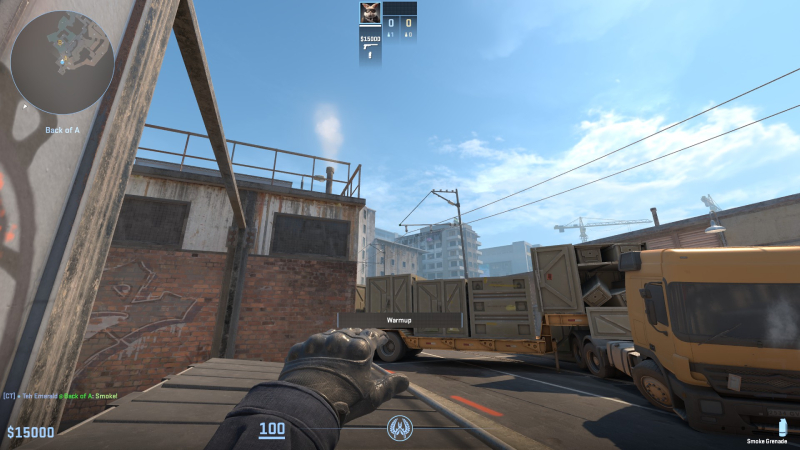
Simply put, a jump throw is when you jump while throwing your CS2 utility. This can be smokes, flashes – anything, really. Jump throwing allows your utility to go further across the map, making your nades a more powerful addition to your arsenal. On some maps, jump throwing even allows you to fake an execute on the other side of the map, if you’re willing to take the time to practice CS2 smokes.
Credit: Daniel Morris
Jump throwing in CS2 doesn’t work the same way as it did in CS:GO. Now, all you need to do is jump and throw simultaneously. CS2 gives you a generous window in which your throw will be consistent. In CS:GO, jump throws had to be frame-perfect to be consistent. It’s a good change, but it does mean that CS2 jump throw binds are less powerful than in CS:GO. Even still, we think they’re worth setting up as it allows you to be 100% consistent. There’s nothing worse than having to confess to your team that you’ve missed your smoke, ruining the entire round. Don’t be that player.
How to make a CS2 jump throw bind command
Credit: Daniel Morris
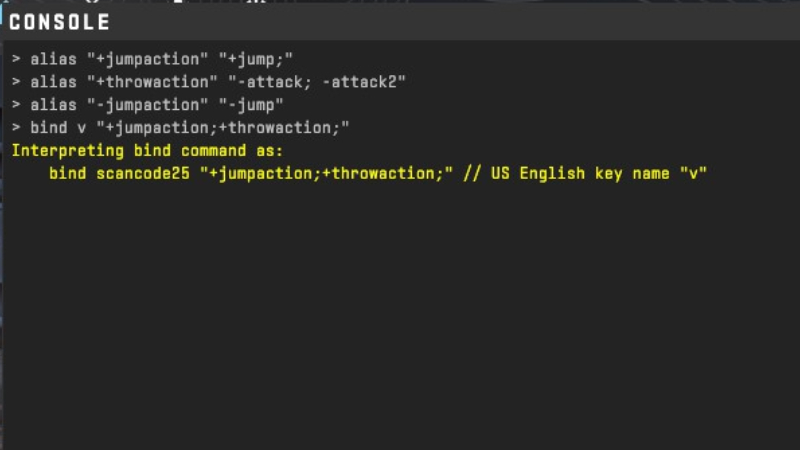
If you want to jump throw in CS2, there are a couple of ways you can do it consistently. The first is by using CS2 jump throw bind commands. This involves using alias commands every time you launch CS2 to bind jump throw. To do this, copy the following CS2 console commands into your in-game console:
- alias “+jumpaction” “+jump;”
- alias “+throwaction” “-attack; -attack2”
- alias “-jumpaction” “-jump”
- bind [KEY] “+jumpaction;+throwaction;”
Change the key for the bind command to whatever you’d like, and you’re all set to go! That’s how to bind jump throw in CS2 via a command. While it’s not ideal to have to enter it every time, it’s perfect if you want to try it once to see if it works for you. If not, then maybe this next solution is right for your needs…
How to make a CS2 jump throw bind config
Credit: Daniel Morris
If you’re certain that you want to make a CS2 jump throw bind command, you should instead create it as a config. This process allows your CS2 jump throw bind to be active all the time, even if you reset the game! Let’s dive straight into the process:
- Open the folder on your PC “steamappscommonCounter-Strike Global Offensivegamecsgocfg.”
- In this folder, right-click and and create a new Text Document.
- Name the document “binds.cfg.” Make sure you delete the previous .txt file extension while doing this.
- Open binds.cfg in Notepad.
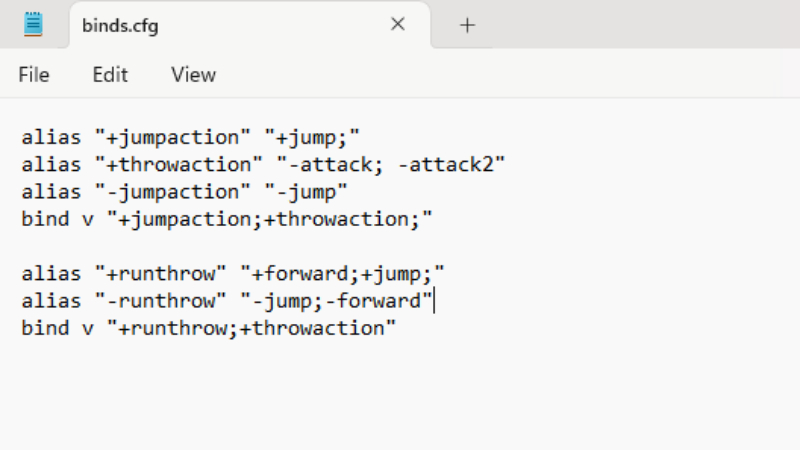
- In the .cfg file, enter the following commands:
alias “+jumpaction” “+jump;”
alias “+throwaction” “-attack; -attack2”
alias “-jumpaction” “-jump”
bind [KEY] “+jumpaction;+throwaction;”alias “+runthrow” “+forward;+jump;”
alias “-runthrow” “-jump;-forward”
bind [KEY2] “+runthrow;+throwaction”
- Make sure that you swap the keybindings in the commands with your own preferences. The second bind will allow to run and jump throw at the same time, for ever further throws.
- Save the file and open CS2.
- Open the console and enter “exec binds.”
- Your commands should now work as intended!
If you’re a frequent CS2 player, this is absolutely the method we’d recommend. It’s easy to do, and makes your utility much more consistent. What’s not to love?


You must be logged in to post a comment Login